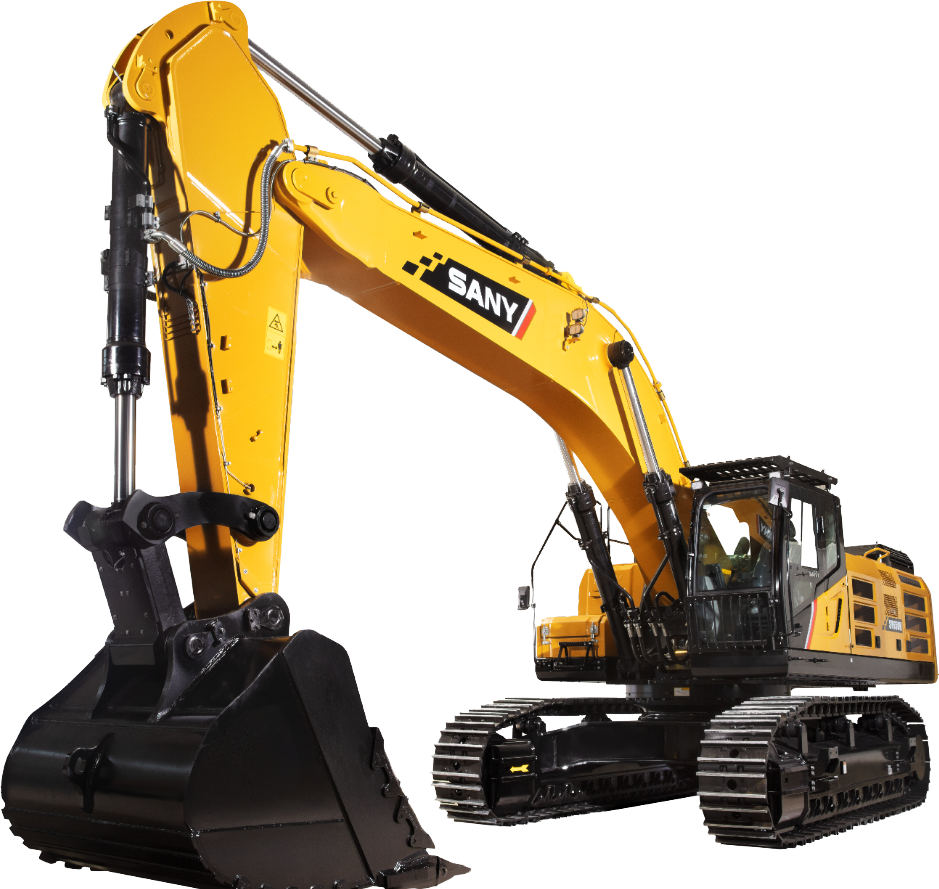
SY215C-S
中型挖掘机

整机重量: 21900kg
SYM5312GJB1FCEV
410氢燃料搅拌车
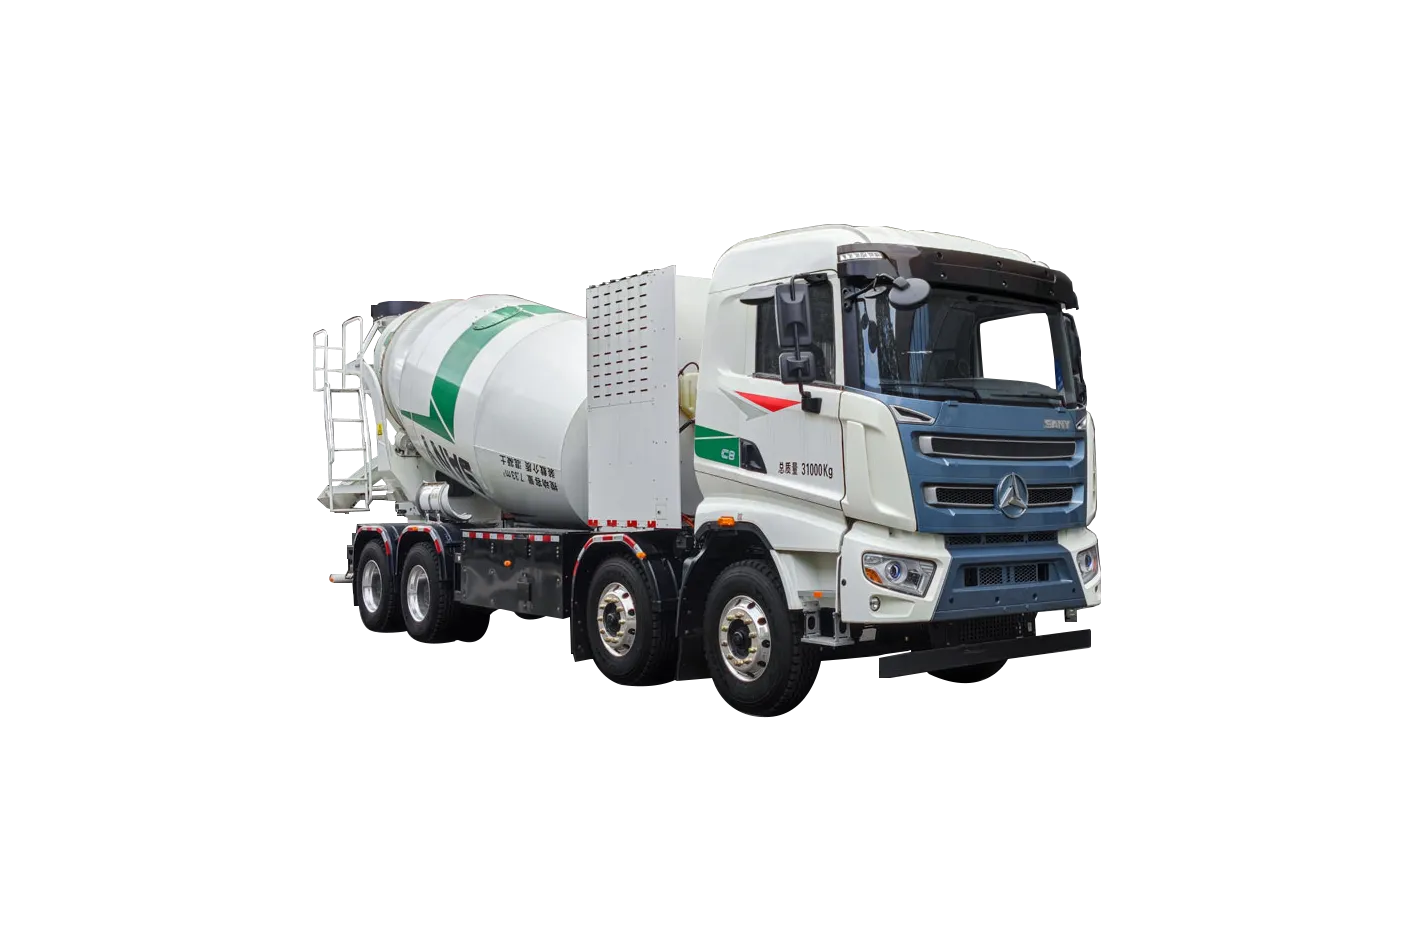
整备质量: 14870kg
SSR260C-10S
单钢轮压路机

额定功率: 180kW
SY135C
小型挖掘机

整机重量: 13800kg
乐竞重工
乐竞重工(SH:600031)
乐竞国际
乐竞国际(HK:00631)
乐竞重能
乐竞重能(SH:688349)
海外网站
SANY GlobalSANY EuropeSANY IndiaPutzmeisterSANY PalfingerSANY ExcavatorSANY Truck功能站点
乐竞金票全球供应商门户(GSP)国内站点
乐竞筑工乐竞竹胜园乐竞工业职业技术学院乐竞帕尔菲格乐竞机器人上市公司
乐竞重工股份有限公司乐竞重装国际控股有限公司乐竞重能股份有限公司